The real reason for this post, however, is these ridiculous peanut butter cups I made last night. My friend Ann loves peanut butter, but we're running out of cookies to make and share that feature this esteemed ingredient (check out her vegan cookie project blog). After researching peanut butter cup recipes, I took the simplicity of this VegWeb recipe, the added sophistication of Have Cake Will Travel's recipe, and the healthy twist of Alicia Silverstone's recipe using graham crackers. While the latter sounds delicious, I have yet to find wheat-free graham crackers. Maybe I'll try this recipe after I make my own. I had just read about the incredible amount of calcium and iron in blackstrap molasses, and its mellow sweetness sounded perfect to smooth out the peanut butter filling.
You will need cupcake liners. I love my reusable silicone baking cups, but I only have eight after a work potluck wherein four got thrown away-- warn your friends that they're not trash! You can use regular disposable liners or mini ones, either way it's nice to have the crinkled edge and a container to hold it in so that your hands don't get too messy while eating.
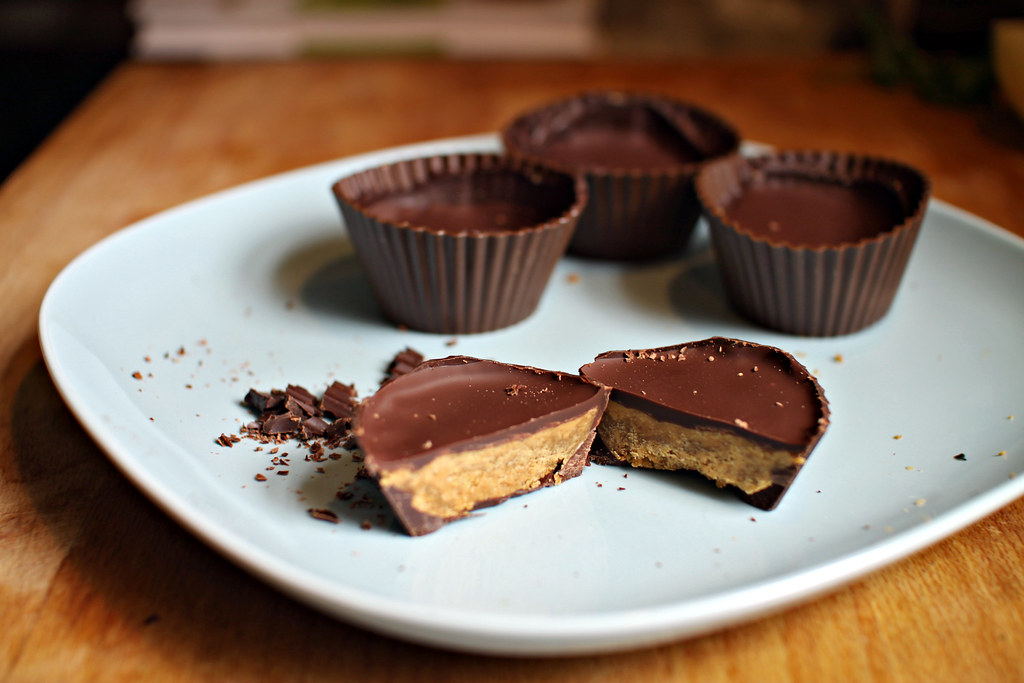
Homemade peanut butter cups
vegan, gluten-free
Ingredients
- 1 cup of dairy- and gluten- free chocolate chips
I like E. Guittard 61% cacao semisweet wafers-- they melt beautifully. - 1/2 cup of peanut butter
I'm partial to smooth, organic pb with only two ingredients-- peanuts and salt! - 1/4 cup powdered sugar
- 2 tbsp blackstrap molasses
- 1 tsp vanilla extract
- 1/4 tsp cinnamon (optional)
Directions
- Melt chocolate in a glass bowl by microwaving for 30 seconds, stirring thoroughly, and repeating. Should take about 2 minutes total microwave time.
- With a large dinnerware spoon, scoop a heaping spoonful of melted chocolate into a liner and smooth it around, up the sides of the container. After each one is done, go back and make sure that the bottom of the cups are completely covered in chocolate. Most of mine had bare spots from the tip of the spoon touching down. This doesn't have to be perfect by a long shot, though.
- Place be-chocolated liners on a plate in the fridge to cool while mashing remaining ingredients together in a bowl.
- Once peanut butter filling is a smooth paste, drop 1 tsp at a time into liners to try to get an equal amount in each.
- Once all of the filling is used up, press flat in each liner with fingers.
- Melt the remaining chocolate again if you have to, and use the spoon to place an equal amount on the top of each liner.
- Shake each liner so that melted chocolate smoothly covers all of the filling.
- Put back in fridge to cool about half an hour. I made mine late at night, so they had overnight to solidify. Otherwise I couldn't have waited!


you inspire me even if i am not vegan or gluten free :)
ReplyDeletethese are dangerously delicious!
ReplyDelete